Amplifiers play a crucial role in amplifying audio signals for home audio systems, as the sound quality benefits maximally when used. Therefore, when building a home theater system and wanting optimal audio, it is important to have this component, among others. Connecting the amplifier to the receiver is not a complicated process. Still, it requires some knowledge and understanding of the peculiarities of the elements and the special connectors that affect the sound. In this article, I will tell you how to connect the amplifier to the receiver, regardless of whether it has pre-outputs or not. And first, we’ll get to know the amplifier and AV receiver better.
Understanding amplifiers and receivers
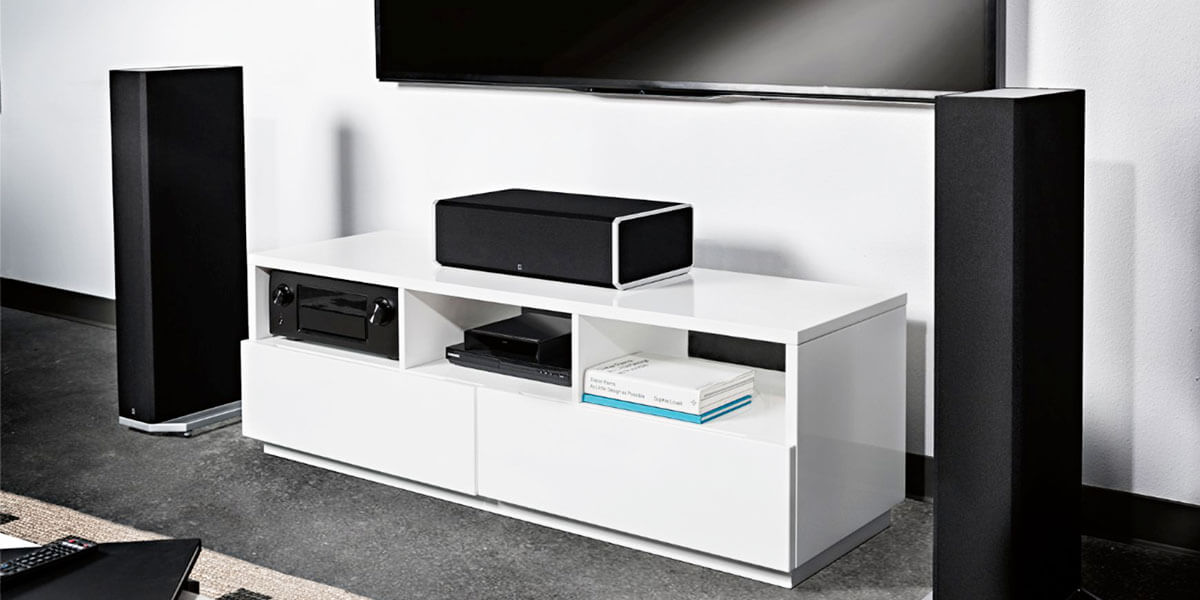
Power Amplifier
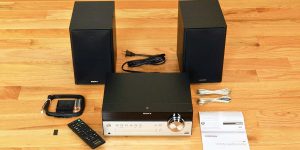
So, this is a separate audio-only device that amplifies the audio signal from a source (CD player, media player, musical instrument, etc). You end up with a powerful, loud, and clear sound (although it depends on the quality of the cables and connectors, too), the way the author intended it to be.
The amplifier has fewer connectors and feels better with an analog signal alone. If you like vinyl, this type of amplification will sound good in a home system.
AV receiver
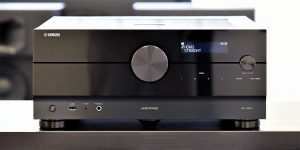
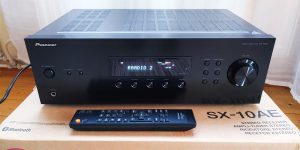
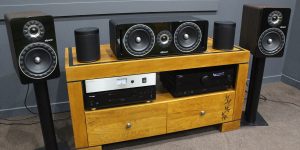
Unlike an amplifier, an AV receiver processes audio and video signals. It is much more functional, and you can connect many AV devices to it (Blu-ray players, game consoles, and TV, in addition to those that can work with an amplifier). It’s the centerpiece of your home theater. That said, it is not as advanced as an amplifier for sound in general. But they have multiple channels (from 5 and up to 15), and you have surround sound for movies (Dolby Atmos and DTS:X, IMAX, Auro 3D). Having HDMI connectors, which have become incredibly capable over time, makes them ideal for sending audio and video together over a single cable.
Pre-outputs
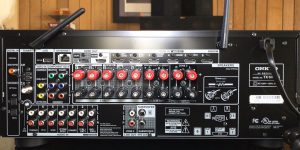
Pre-outputs are the output ports of audio receivers or preamplifiers that provide a direct signal path for connecting external amplifiers. They are usually labeled “Pre-Out” or “Line-Out” and located on the receiver’s back.
The importance of the Pre-Out ports lies in their ability to bypass the receiver’s built-in amplifier and feed a clean, unamplified audio signal to an external amplifier. This allows users to use a separate, more powerful amplifier to power their speakers, which can result in better sound quality, wider dynamic range, and better overall audio performance.
In addition, pre-outputs are essential for bi-amping or multi-amping, where separate amplifiers power different frequency ranges or groups of speakers. This setup allows for more precise control of each speaker and optimizes the overall sound quality of your audio system.
Preparing for the connection
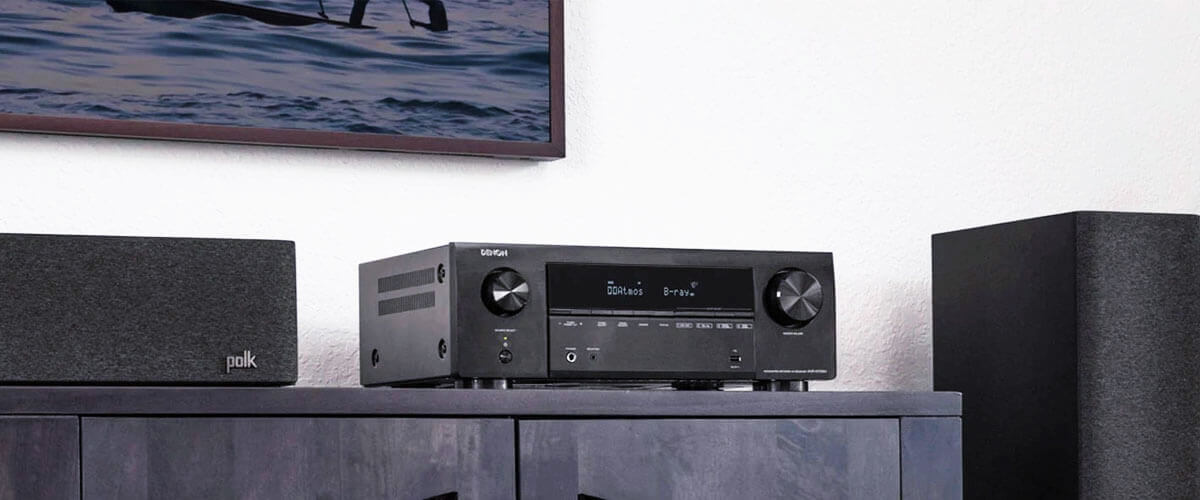
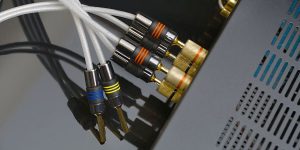
Before you connect your amplifier to your receiver, you must gather the necessary tools and cables. You will typically need RCA cables or speaker wires, depending on your configuration. Ensure all devices, including the amplifier, receiver, and any other audio components, are turned off and disconnected from the power source to avoid electrical mishaps. Also, pay attention to the input and output ports of the amplifier and receiver to ensure compatibility and proper connection.
Connecting an amplifier to a receiver with pre-outs
Connecting an amplifier to a receiver with pre-outs process will look like this:
- Identify the pre-output ports on your receiver: These are usually labeled “Pre-Out” or “Line-Out” and are usually located on the back of the receiver.
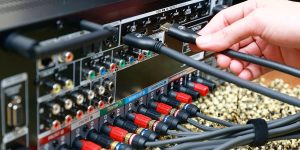
- Connect one end of the RCA cables to the Pre-Out ports on your receiver. Match the cables’ colors (usually red and white) to the corresponding ports.
- Connect the other end of the RCA cables to the amplifier’s input ports: Again, match the cables’ colors to the appropriate ports.
- Power up the receiver and amplifier: Once powered up, the amplifier should receive audio from the receiver through the pre-output.
- If necessary, adjust the volume levels and settings: Use the controls on the receiver and amplifier to adjust the volume and other audio settings to your preference.
Connecting an amplifier to a receiver without pre-outs
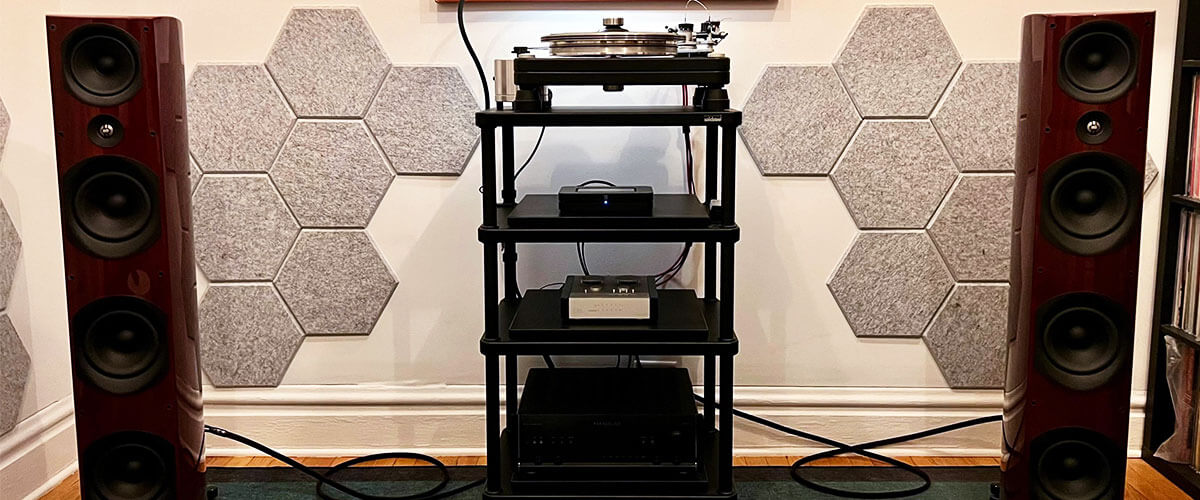
Connecting an amplifier to a receiver without pre-outputs can be more complicated but still doable if you take some additional steps:
- Identify the speaker output jacks on the receiver: These are usually labeled “Speaker Out” and are where the speaker wires connect.
- Connect the speaker wires from the receiver to the appropriate input terminals on the amplifier: Align the positive and negative terminals on both units to ensure correct polarity.
- Connect the wires from the amplifier to the speakers: Again, ensure correct polarity to maintain the proper phase of the sound.
- Next, as in the first case, turn on the power to the receiver and amplifier and adjust the volume levels and settings.
Configuring your system for optimal performance
After connecting the amplifier to the receiver, you need to set up the system for optimal performance. First, make sure that the volume levels on the receiver and amplifier are set properly to prevent distortion and maximize sound quality. After that, adjust the sound settings. Don’t be afraid to experiment with the equalizer settings on both devices to adjust the sound to your preferences, considering factors such as bass, treble, and balance. Be sure to pay attention to the acoustics of the room. The walls, furniture location, and the room’s specific layout (cross beams, pillars) are all important here. The correct system location will help optimize sound quality and minimize unwanted reflections. Test and check constantly. Spend some time listening to different audio sources and genres, and make adjustments based on your preferences and listening experience. Even if you don’t enjoy the process itself, you will never regret it in the end. Good luck!
We are supported by our audience. When you purchase through links on our site, we may earn an affiliate commission at no extra cost to you.
Our newsletter
* We will never send you spam or share your email with third parties

![Best Budget Receivers [Reviewed and Tested]](https://thetechholics.com/wp-content/uploads/2023/10/best-budget-av-receiver-300x150.jpg)
![Best 9-Channels AV Receivers [Reviewed and Tested]](https://thetechholics.com/wp-content/uploads/2023/10/best-9-2-receiver-300x150.jpg)
![Pioneer vs Denon Receivers [Top Models Compared and Tested]](https://thetechholics.com/wp-content/uploads/2023/10/denon-vs-pioneer-review-300x150.jpg)
