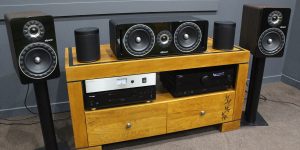
Ceiling speakers are a great way to “pump up” and improve the sound of your multimedia system. They provide an immersive rear sound, giving you the feeling of being physically present in the scene. If you’re wondering how to integrate ceiling speakers into your entertainment space and achieve balanced sound throughout your room, look no further. In this article, I’ll guide you on how to connect ceiling speakers to the receiver correctly so you can enjoy a breathtaking audio experience.
Pre-installation steps

While installing speakers isn’t all that difficult, some preparation needs to be done to ensure that you get the best sound quality possible. Further down, I describe them.
1. Find the right location for your speakers
First off, you need to find the optimal spot for your ceiling speakers. Start by familiarizing yourself with the manual supplied with your speakers. Manufacturers typically clearly specify where to mount speakers for optimal sound quality, eliminating any guesswork on your part. In the case of Dolby Atmos setup, the placement of ceiling speakers will vary based on the chosen configuration. Make sure to carefully read Dolby Labs manual brochures to nail down the best spot.
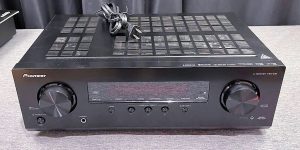
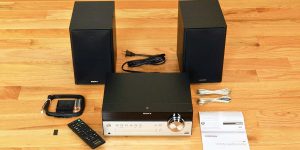
2. Check receiver and speaker compatibility
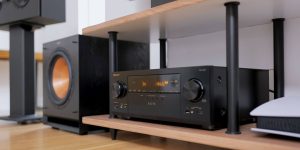
Next, compare the power handling and impedance of your speakers and receiver. The specifications of ceiling speakers should either match or slightly exceed the receiver. This is very important because if your speakers are less powerful than your receiver, they may get damaged when you crank up the volume.
3. Get tools and materials ready
You’ll need to get a few tools ready to install ceiling speakers. Besides the speakers themselves, prepare a pair of protection gloves, level, drill, fish tape, wire strippers, screwdriver, and a keyhole (or a drywall saw). Don’t forget about precautionary measures, too. Since you’re going to work with electricity, it’s extremely important to turn off all the power supplies to prevent electric shock.
Step-by-step guide to connecting ceiling speakers to a receiver
Once you’ve got all the tools ready, it’s time to proceed to the installation. Below, I’ll walk you through each step of the installation process so you know you’ve done everything right and haven’t missed any important details.
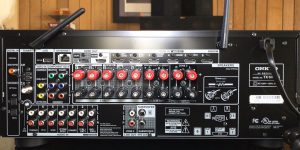
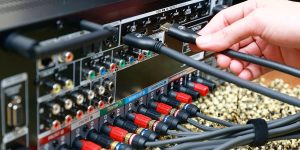
1. Running the speaker wires
Let’s start by looking at how to wire ceiling speakers correctly. First, check the wires. If they come in black and red, then this is a basic wiring connection in which you need to split the ends of the wires and connect exposed live wires to the receiver, having previously twisted them in the shape of the letter “Y” for easy insertion. However, most often, speaker cables have a socket-type connection. With this connection, all you need is to open the locking mechanism to let the wires through.
Now, isolate cables to add a layer of protection so they can’t get easily damaged if they get in contact with splintered wood or any other hazards that may cause a short. Once that’s done, run the wires from the receiver to the speakers using fish tape, taking heed of the input and output polarities. That’s it.
2. Test your setup

Before you grab a drill and make holes in the ceiling, test your setup first. Attach the ceiling speakers at the designated spots with tape or hooks and power up your audio system. To assess the sound quality and balance, play a piece of audio you’re familiar with at different volume levels. If there are any imbalances, you can slightly alter the placement of the ceiling speakers to even out the sound.
3. Cutting holes in the ceiling
Once you’re satisfied with the sound, trace the outline of a hole in the ceiling using a cardboard speaker insert. Then, use a drill or a drywall saw (depending on the type of ceiling) to cut along the traced area and clear away any leftover debris. All you’re left to do now is attach the supplied speaker brackets to the ceiling where you’ve made cuts and secure them to the ceiling joists or studs.
4. Mounting ceiling speakers
The last step required to connect the speakers to the receiver is to actually place the speakers on the holes. Before doing so, however, take the time to read the manufacturer’s instructions, as they can sometimes suggest a specific installation algorithm for you. If not, place the speaker in the opening as mentioned above and affix it using a screwdriver and screws. If any gaps are left between the speaker and the ceiling, seal them with tape. Some brands even allow you to paint speakers to match the ceiling perfectly.
5. Test again
After the final installation, make sure to test the speakers once more to ensure that the sound quality is as expected. At this stage, you can put the finishing touches by fine-tuning your speaker setup.
FAQ
Can I use ceiling speakers for the rear surround?
Yes, you can! If you mount them behind the listening area, they’ll bring more immersive sound into the room.
Do people still use ceiling speakers?
Yes, sure. Ceiling speakers are used as part of Dolby Atmos audio setups to bring in overhead sounds. However, it’s worth noting that not everyone uses permanent installations these days. Many prefer hanging speakers from the ceiling rather than drilling holes or using virtual formats.
Can ceiling speakers be placed in highly humid areas, such as bathrooms and kitchens?
If they are not waterproof, it’s better not to risk it, as any abnormal temperatures or climate conditions can lead to degradation in the quality of the equipment. That being said, kitchens are generally a safe place, as long as you don’t place your speakers directly above the stovetop.
We are supported by our audience. When you purchase through links on our site, we may earn an affiliate commission at no extra cost to you.

![Best Budget Receivers [Reviewed and Tested]](https://thetechholics.com/wp-content/uploads/2023/10/best-budget-av-receiver-300x150.jpg) Best Budget Receivers [Reviewed and Tested]
Best Budget Receivers [Reviewed and Tested]
![Best 9-Channels AV Receivers [Reviewed and Tested]](https://thetechholics.com/wp-content/uploads/2023/10/best-9-2-receiver-300x150.jpg)
 Best Three Zone Receiver Reviews
 Best Dual Zone Receiver Reviews
![Pioneer vs Denon Receivers [Top Models Compared and Tested]](https://thetechholics.com/wp-content/uploads/2023/10/denon-vs-pioneer-review-300x150.jpg)
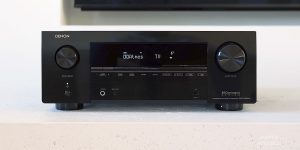
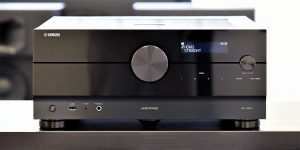 Yamaha RX-A6A: A Comprehensive Review
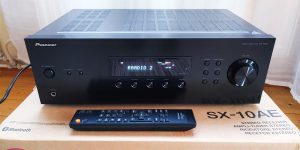 Pioneer SX-10AE: A Comprehensive Review
 Pioneer VSX-534: A Comprehensive Review

 AV Receivers Multi-Zone Features Explained
Our newsletter
* We will never send you spam or share your email with third parties